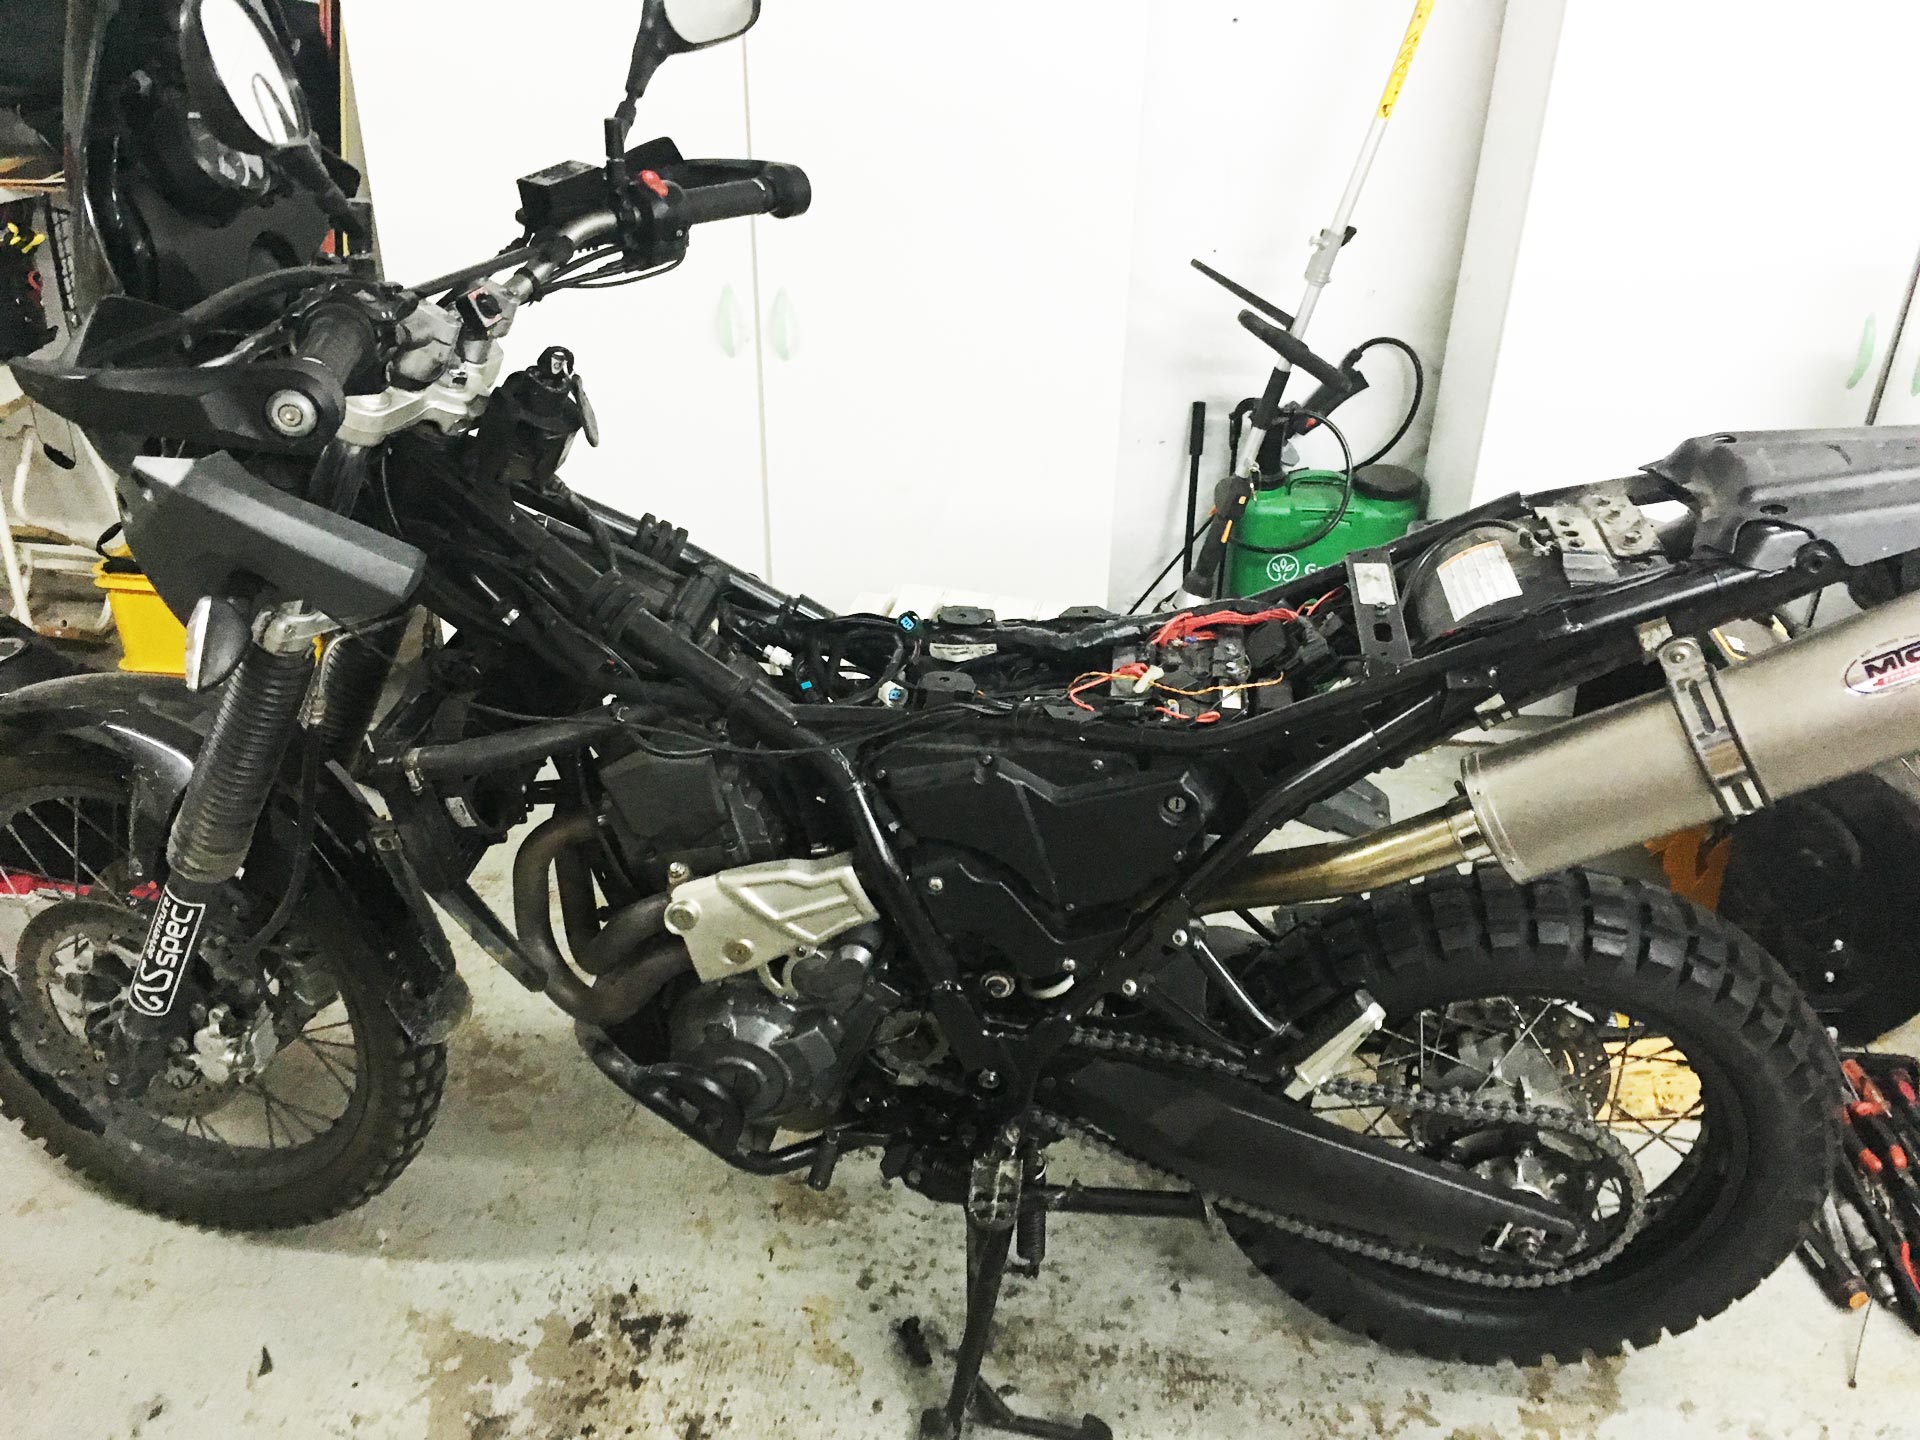
Thanks to so many great resources such as xt660.com I’ve not had to go totally by trial and error to find what needs to be modified on the XT660Z. So with the excellent information from friends, and all the good people over t’interweb, here are the details of the modifications I’ve made to my XT660Z.
XT660Z Modifications
The not so safe, safety bead
On the rear wheel, the rim has a raised “safety bead” at the inner edge of the bead where the tyre seats. Actually it sounds like a good idea right? Wrong! Previously I had run TKC80 tyres which are quite soft, so should be very easy to fit. Well they weren’t that easy to fit on the rear wheel, but they did go on using normal levers and hand tools. I had changed tyres to a harder wearing Mitas E07, which is a much stiffer tyre. Here’s the list of things I tried in combinations to get this tyre’s bead to seat: soap/water lube, tyre paste, 50 psi repeated inflations and re-lube, bouncing the hell out of it, ratchet strap around the circumference, and leaving it in the sun. NOPE, the bead on both sides would not seat.
In conclusion it wouldn’t be possible without machinery. This definitely becomes UNSAFE if you get a puncture and cant fix it on the trail with hand tools. Why? Because it will happen when you are 2 days ride from the nearest town in some far out place in the desert! Anyway, I machined the poxy safety bead off of the rear wheel. Now this tyre still took persuading with 50psi, plenty of lube, and a seat in the sun for 10mins. But nothing out of the ordinary. So now tyre changes on the Tenere should be a much more normal experience.
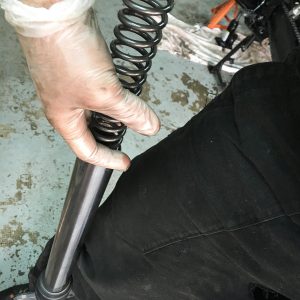
Ohlins fork springs
This was a modification made after the Iceland stage when giving the bike a service. The stock XT660Z springs are fairly soft and when riding trails fully loaded with the preload up at 27 turns. The forks can still perform but under strong braking, cornering, or increased speed. The “wallowy” limit of the softer spring is soon felt. So these upgrade springs are going in shortly and will see how they run.
Treadmaster Grip Pads
I’ve added some EVA grip pad to the tank because when trying to keep connection either seated or standing. The legs just slide around the paintwork which can get annoying. Actually this change has proven to be very cost effective, and a dramatic improvement when riding. This grip pad is made by Treadmaster UK who specialise in Marine deck applications. It’s very grippy, hard wearing, resistant to fuel, oil, and water. Seems to perform much better than most moto grip pads.
Tutoro automatic chain oiler
I’d been aware of ‘Scott oilers’ for a while, and never really been ‘sold’ on the idea. Then the thought of longer trips around the world, and extending chain life so dramatically. This had me reading up on automatic chain oilers again. I’d been following a blog called Horca Moto (really great adventure motorcycling blog). There was a post about the Tutoro chain oiler, which I had never heard of before. Anyway it’s so simple compared to any other on the market, and made in the UK. So I decided something that simple and proven has got to be a choice.
Kevs Fuel mod
A great modification allowing the rider to change the air/fuel mixture of the XT660Z. Which was necessary after changing the air filter for a high flow foam filter, and a new exhaust. The result is smoother power, and seems to pull better in the lower rev range. Maybe it will come in handy later on for higher altitude roads or crappy low octane fuel?
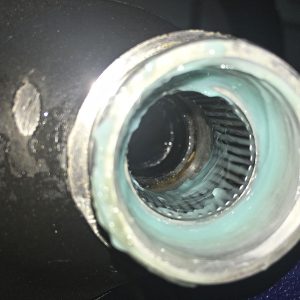
Cush Drive Rubber mod
When i first got the XT660Z i’d read about this issue, so it was one of the first things that I checked. Despite being replaced a few hundred miles before acquiring the bike, sure enough the cush drive was beginning to deteriorate. There was a good amount of disintegrated rubber floating around in the housing. So before it needed replacing again, I cut up an old inner tube and placed it over the spaces between the cush drive rubbers so it all slotted into place with the sprocket carrier.
Having checked it all again after 1000 miles there is not a simgle sign of any deterioration and the cush drive looks great. Simple, cheap, and effective mod.
Snorkel removal & OTR foam filter
The snorkel got removed simply because the bike can breathe better. Actually the snorkel doesn’t seem to offer that much more clearance for crossing water anyway. The foam filter from “off the road” is cleanable, re-usable, and more effective against sand and dust, so the air filter can be kept running cleanly while on a long trip.
Barkbusters Hand Guards
Replaced the OEM XT660Z handguards with these because under real riding conditions it didn’t take long to destroy the OEM kit. Once again a good friend made this point early on, and he’s always right when it comes to kit. In fact, from now on when I research new kit I’m just going to ask him, “the kit oracle”.
Adventure spec sump/bash guard
Such a substantial guard that with a set of hand guards fitted, their combined protection seem to provide enough coverage. Including water pump protection, so that when the bike goes down its well protected.
Zen overland large luggage plate
Seemed like a quality piece of kit, and a fraction of the cost of the Touratech version of the same thing.
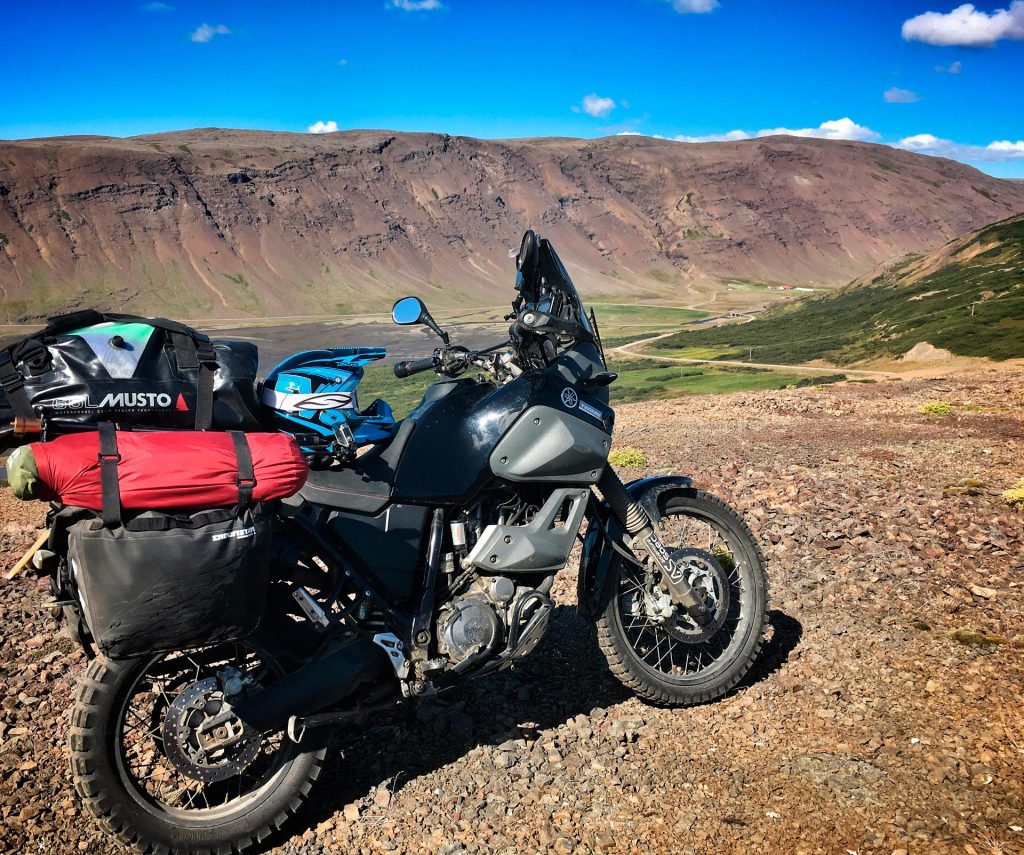
Musto 65L roll top bag
A waterproof roll top dry bag for the top of the bike lashed down on the luggage plate. A really well made bomb proof kit bag designed for being on the water. This bag has stood up to a beating already and still holding very well. The laminate construction has survived being melted by the exhaust (I know, hard to believe but true!). It has shrugged off without a problem; fuel spillages, and generally being beaten up. A very well made piece of kit, highly recommended.
Hepco and Becker pannier frames
I had checked out loads of other frames and really wasn’t convinced that others would fit around the exhaust. The hepco and becker frames definitely fit around the aftermarket MTC exhaust, albeit quite a snug fit. They’re cross braced so should give plenty of protection in a fall and hopefully wont get bent too much.
Monsoon 3 soft panniers
I decided to go with soft luggage so that they don’t break in a fall. Soft luggage is easier to pack, easier to live with, wont vibrate if not packed out fully, and wont crush my leg as much in a fall. Ok they compromise in security, but everything is a compromise. Maybe adding some PacSafe backpack protectors. A lockable wire mesh finely weaved so that even if the bags are slashed they cannot be emptied or removed unless bolt cutters are used, and in that case hard cases wont stand up to a thief being that determined.
So the monsoon 3 panniers are a dry bag style, roll top pannier. Frame mounted so they don’t flap about or move. With plenty of lashing points, a capacity of 60 litres in total, and really well priced compared to everything else.
Giant Loop Handlebar Bag
A convenient stash plash for gadgets while they are charging. Previously I had resorted to clipping a small drybag to the handle bars, which would swing around in the wind quite a lot.
MTC – Single exhaust
It made sense to remove the twin exhaust because it weighs quite a lot, and takes up space. Fitting the MTC single exhaust made space made for a tool tube on the other side of the bike. I do love a loud hooligan exhaust on a bike, but I did ask MTC to send me a quieter baffle (even though the existing one was road legal). That way I can swap it out when I want to be quieter. The guys at MTC seem great and always happy to help.
Home made tool tube and tool kit
Cheers to Greg for this idea, brilliant tool tube made from a piece of PVC drain pipe. Cut to size with an end cap at one end, and a screw on inspection cap at the other for access. Mounted to the bike’s spare exhaust mount using two standard exhaust hangers in the free space now available on one side.
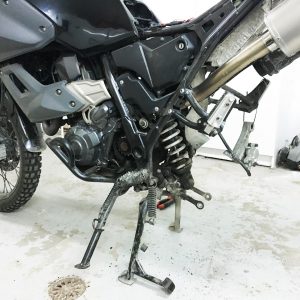
Centre stand for ease of maintenance
Just an obvious one really for easier maintenance at any time.
Headlight guard
Another obvious one really, a metal mesh headlight guard to prevent stones from smashing the lights. does the trick.
Spot lights
2x super high intensity LED spotlights that really make a huge difference off road.
Battery monitor & fuse box for accessories
Hopefully helping to avoid potential flat battery and electrical issues from creating bigger problems. A simple LED indicator changes from green/yellow/red when the voltage is charging/not charging/draining the battery. This means hopefully any issue can be addressed before it becomes a bigger problem. Also, along with the additional electrical components added to the bike there is an auxiliary fuse box on a separate ring via a relay from a spare socket on the parking light ring.
USB chargers / electrical sockets
2x Electrical charging points added to the bike for charging the usual gadgetry
Quick oil change sump plug hose
Another brilliant piece of kit from “off the road” a replacement sump plug that allows a screw on valve and pipe to connect. Draining oil quickly without pouring all over the bash plate and keeping waste oil directed into a bottle. Makes oil changes on the road very quick and easy.
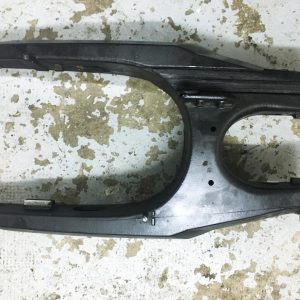
Tail chop
Just because the old “elephant nose” of a tail unit looked like it was going to get ripped off on something anyway. So I cut that off then re-mounted the registration plate further up the existing tail unit.
Wider pegs
Wider pegs for comfort when standing on the pegs all day.
90 Degree Tyre Valve Adaptors
So much easier to use when having to check or change tyre pressures on the fly.
XT660Z Preparation
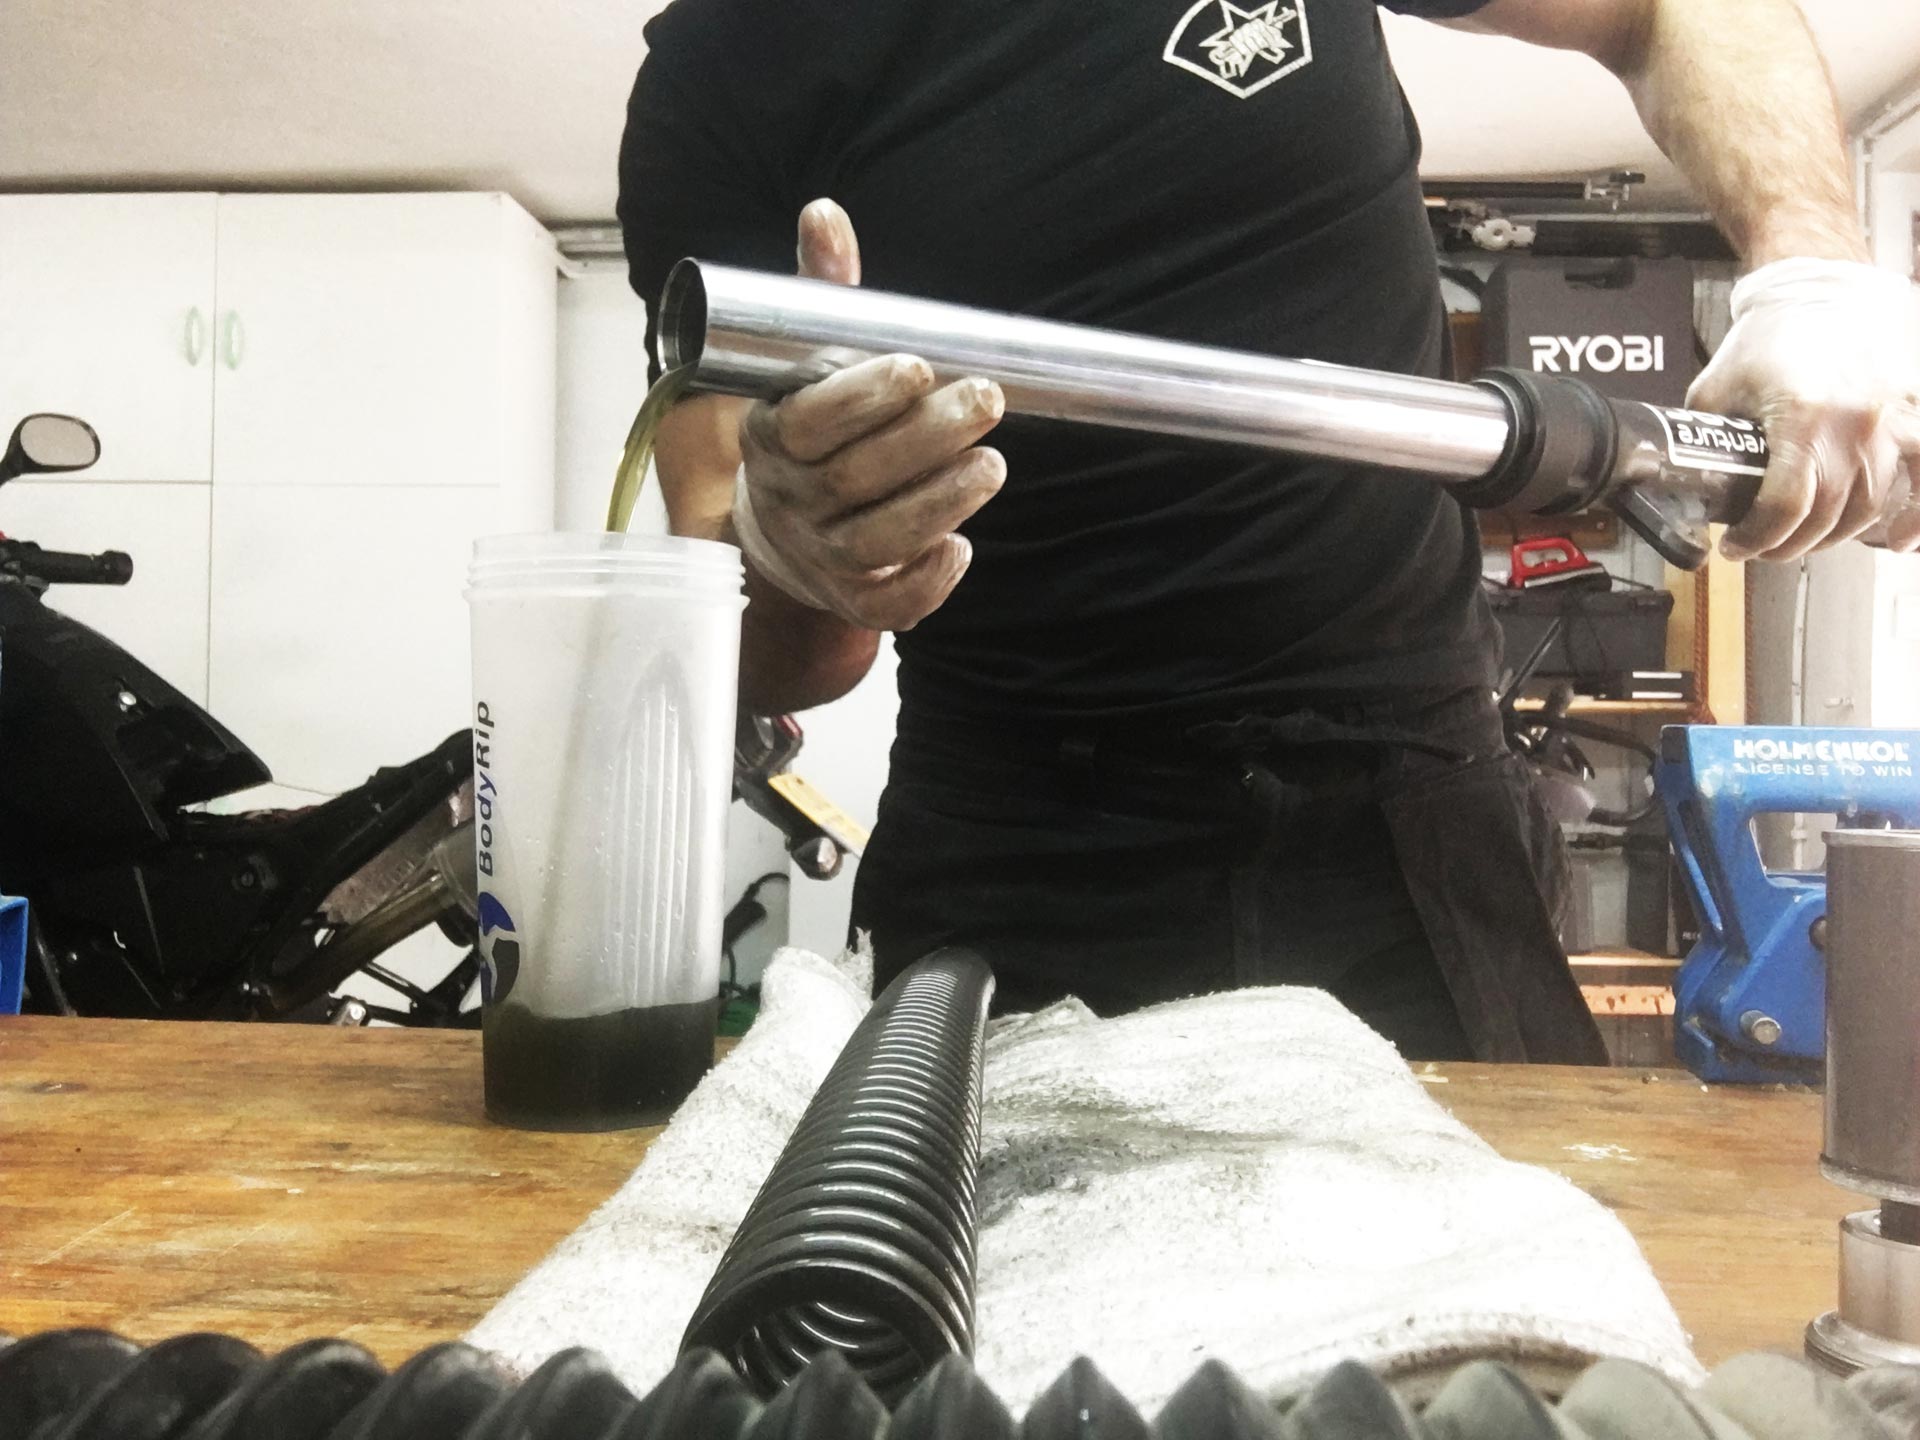
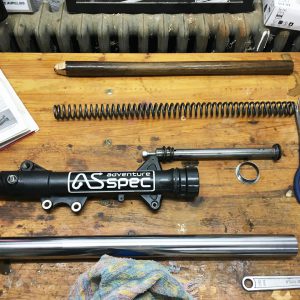
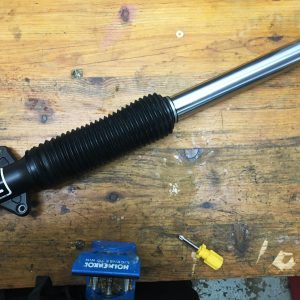
Overhaul front forks
Removed front forks, checked the springs, dismantled the shock absorber, cleaned everything, replaced oil and dust seals, re-assembled, and added fresh oil.
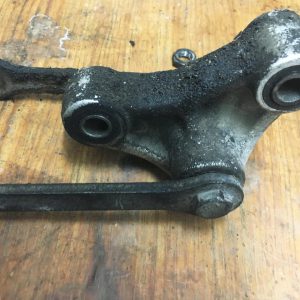
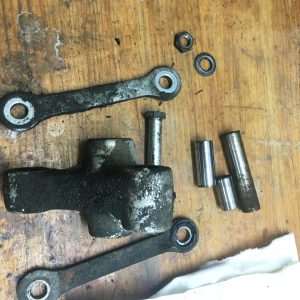
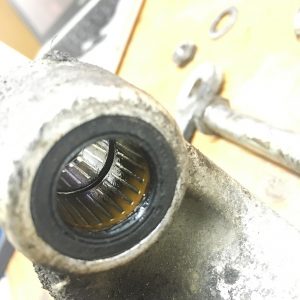
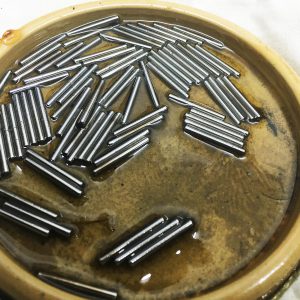
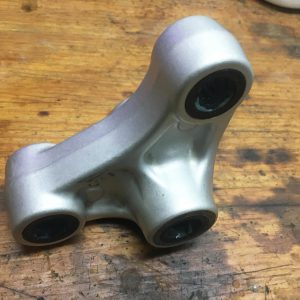
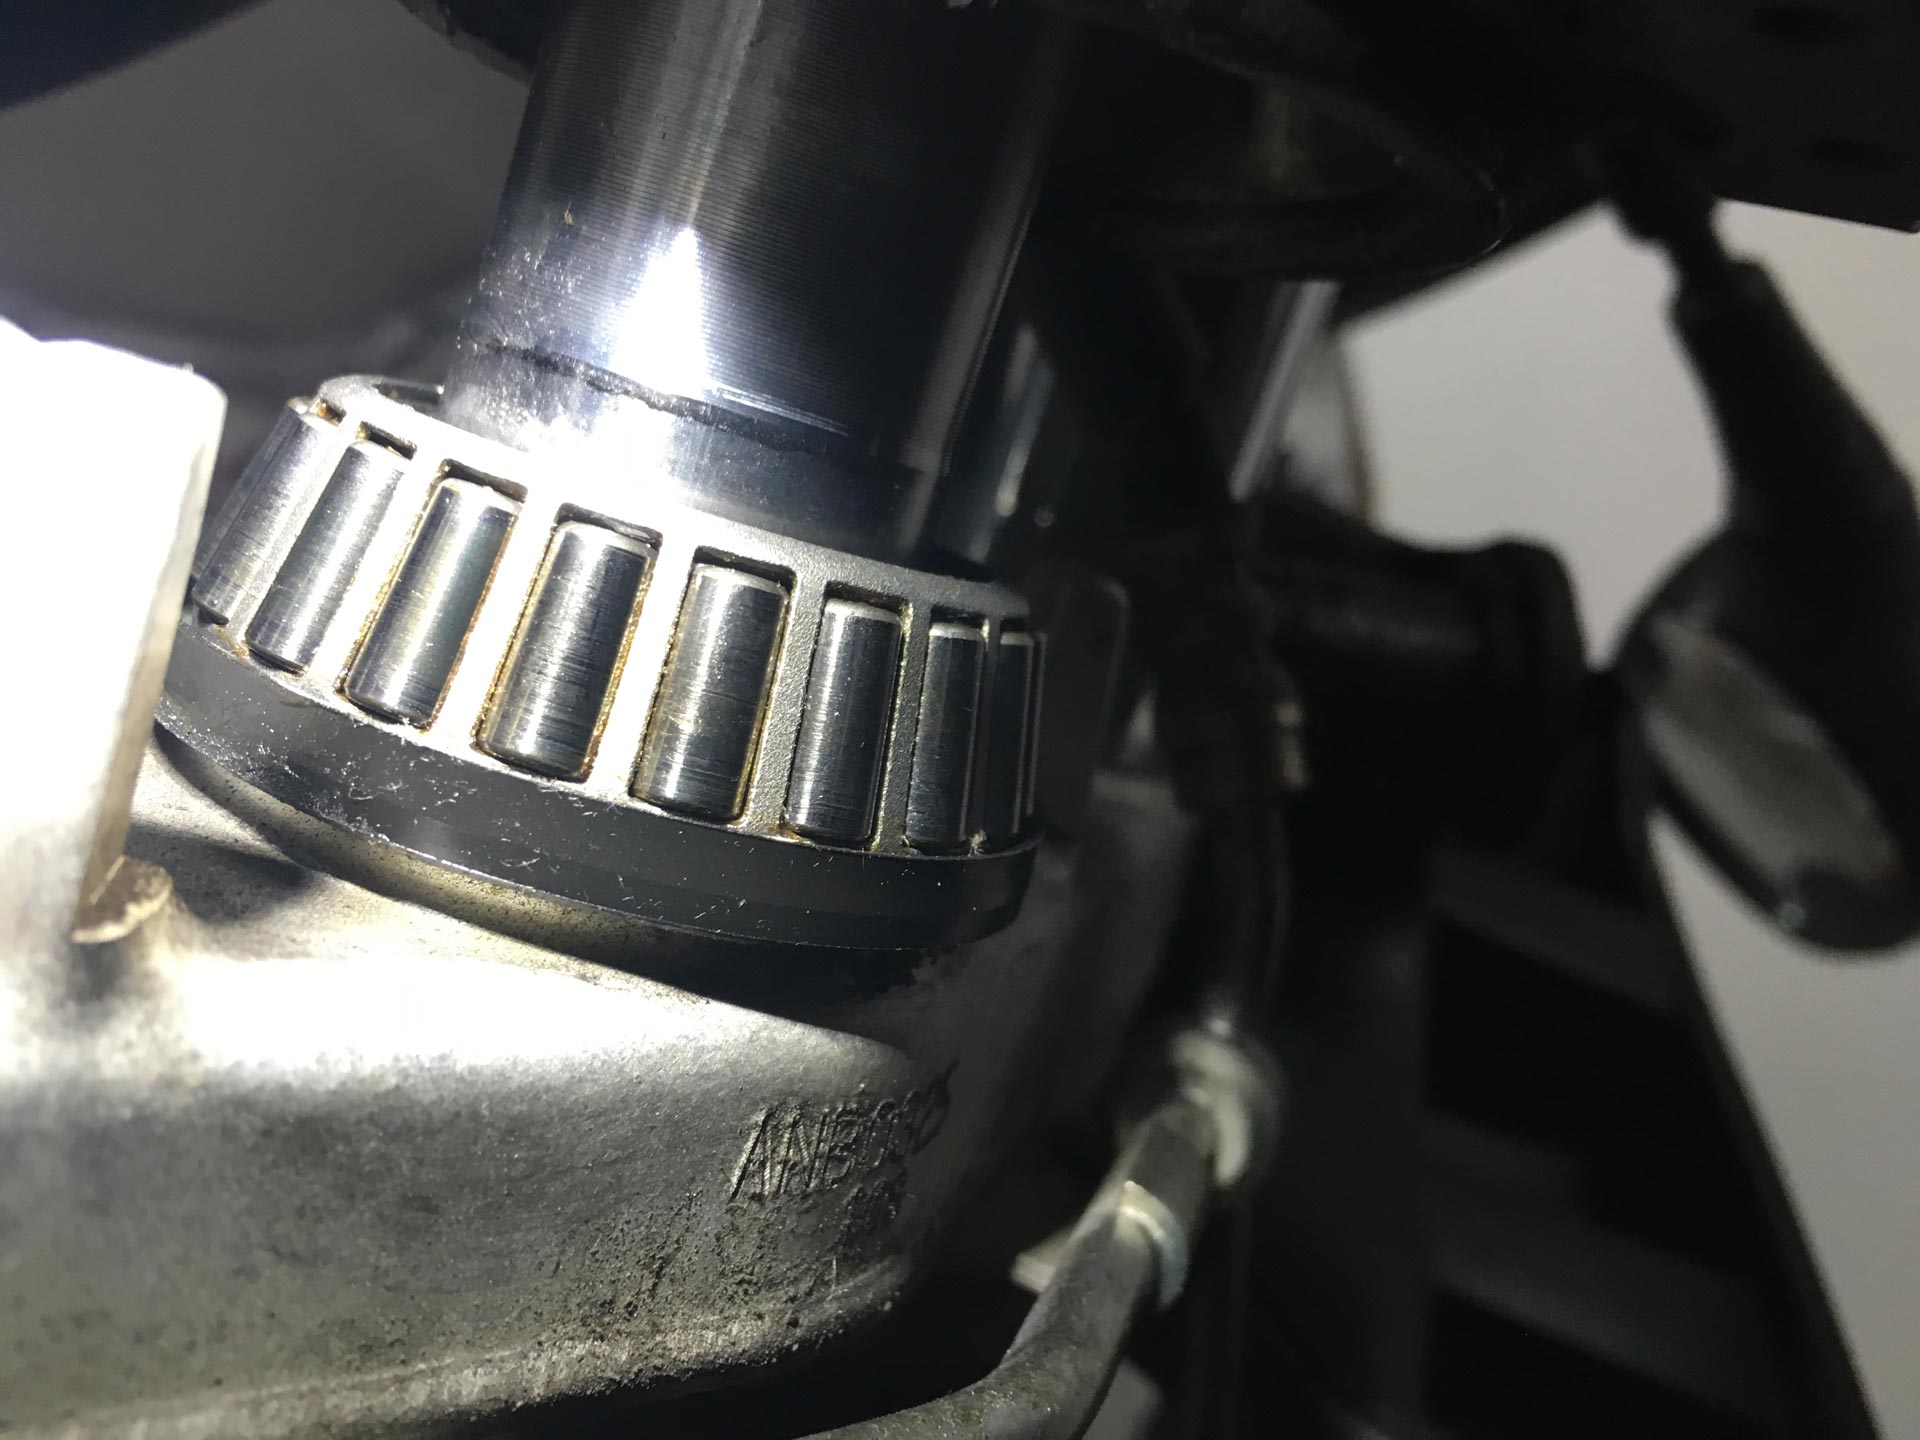
Rear suspension linkage, shock, and swing arm service
Removed the rear swing arm, and the suspension linkage. Removed the needle bearings from the suspension linkage, cleaned and re-greased everything.
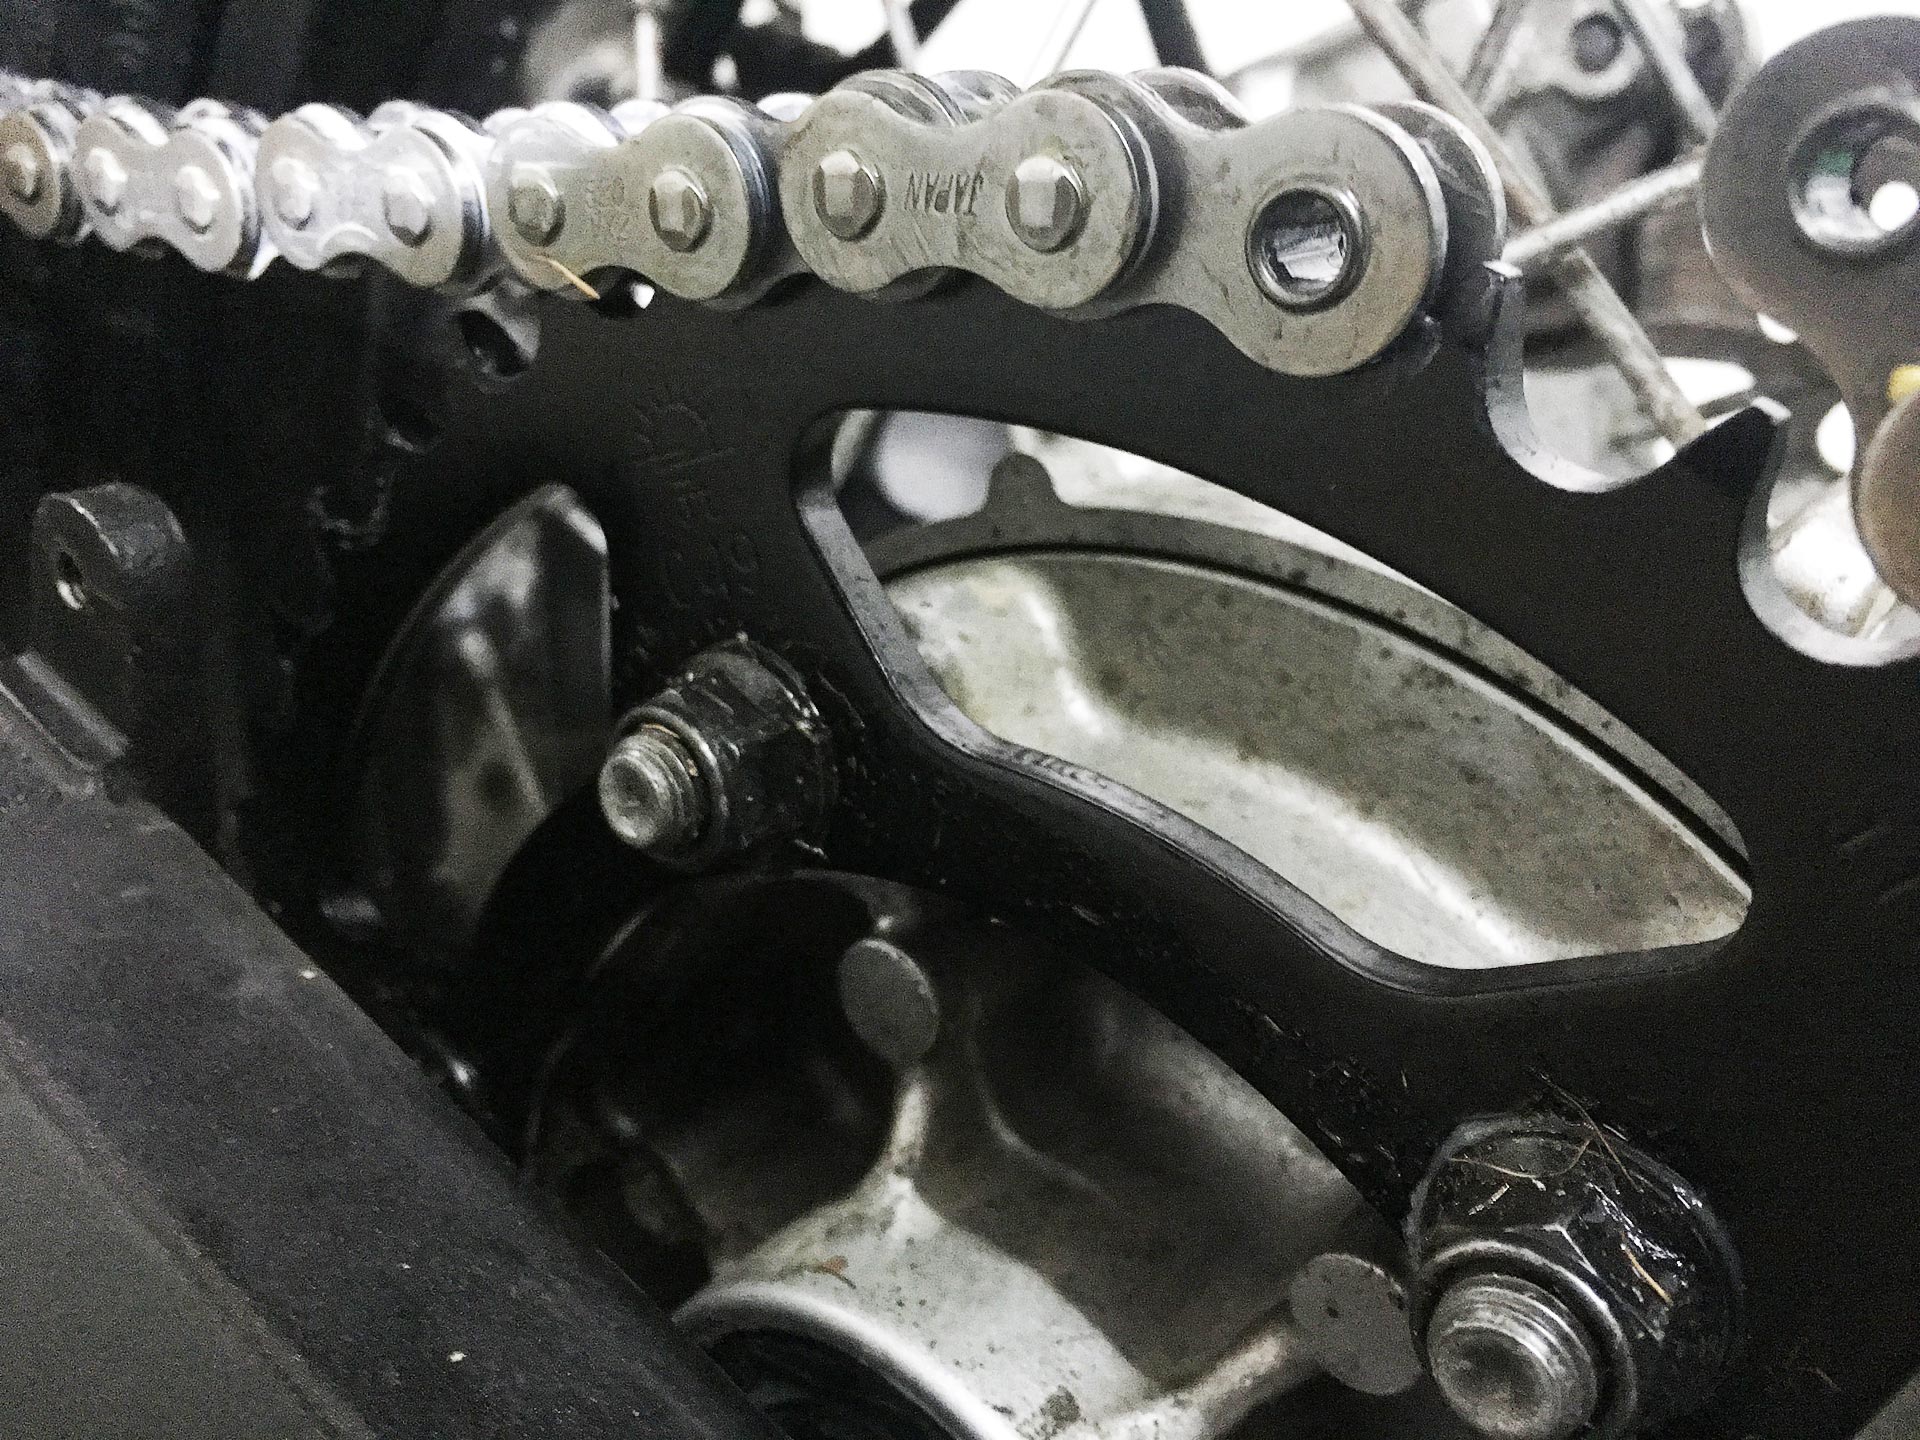
New chain and sprocket set
Obvious one to fit before a long journey, and added a spare link to the tool kit.
Steering head bearings
Checked, cleaned, and re-greased.
Cooling System
Drained fully, flushed and cleaned, replaced with fresh coolant.
Oil and filters replaced
Standard stuff.
Valve adjustment check
Quick check and adjustment of the valve clearances
Front and Rear Brakes
Flushed and Replaced front and rear brake fluid, and put some new brake pads in.
Regulator/Rectifier
Waterproofed the connector and check the condition.
Wiring loom and connectors
Added some abrasion resistance to the wiring loom at the points where it’s strapped to the frame. By adding some sections of rubber sheeting wrapped and taped around the loom at vulnerable points. Also I waterproofed all of the electrical connectors with ACF50 grease around the plastic blocks where they slide/seal together.
Spokes and Corrosion
I put a coating of ACF50 on all the spokes and other corrosion points around the bike. Lets see how that works out.
Wheels and Tubes
I inspected the wheel rims, spoke connections, and added some new rim tape just incase. Then lubed the inner tubes with red rubber grease to prevent pinch flats. Hopefully this wont be to awkward to deal with when repairing punctures.
New Tyres
I Replaced the tyres with a new set of Continental TKC80’s, also to get a feel for breaking the bead from these rims. Which i’d been warned can be a pig. So it turns out that the best way is to lube up the bead with soapy water (haha). Actually it seemed like the only way to break the bead from these rims. With some soap and water the tyre change both on and off was easy (without it, I probably would have struggled or trashed the tyres). The TKC80’s were perfect for Icelandic trail riding, but WOW they wear out fast. So I’ve gone for the Mitas E07 for more durability as an all rounder. And in future will probably stick with Mitas and rotate between the E07, E09, and E10 for different types of riding.
By Ronen Ben 30th December 2016 - 7:03 am
great man. little bit more pbotos could help. cheers!
By Chasing Rapture 30th December 2016 - 7:11 am
I’ll get some more photos posted when I’m servicing the bike next. Should be soon.
By Grandad 8th May 2017 - 5:12 pm
Just a small service then, seriously , a brilliant and exciting read . Lol, Gdad.